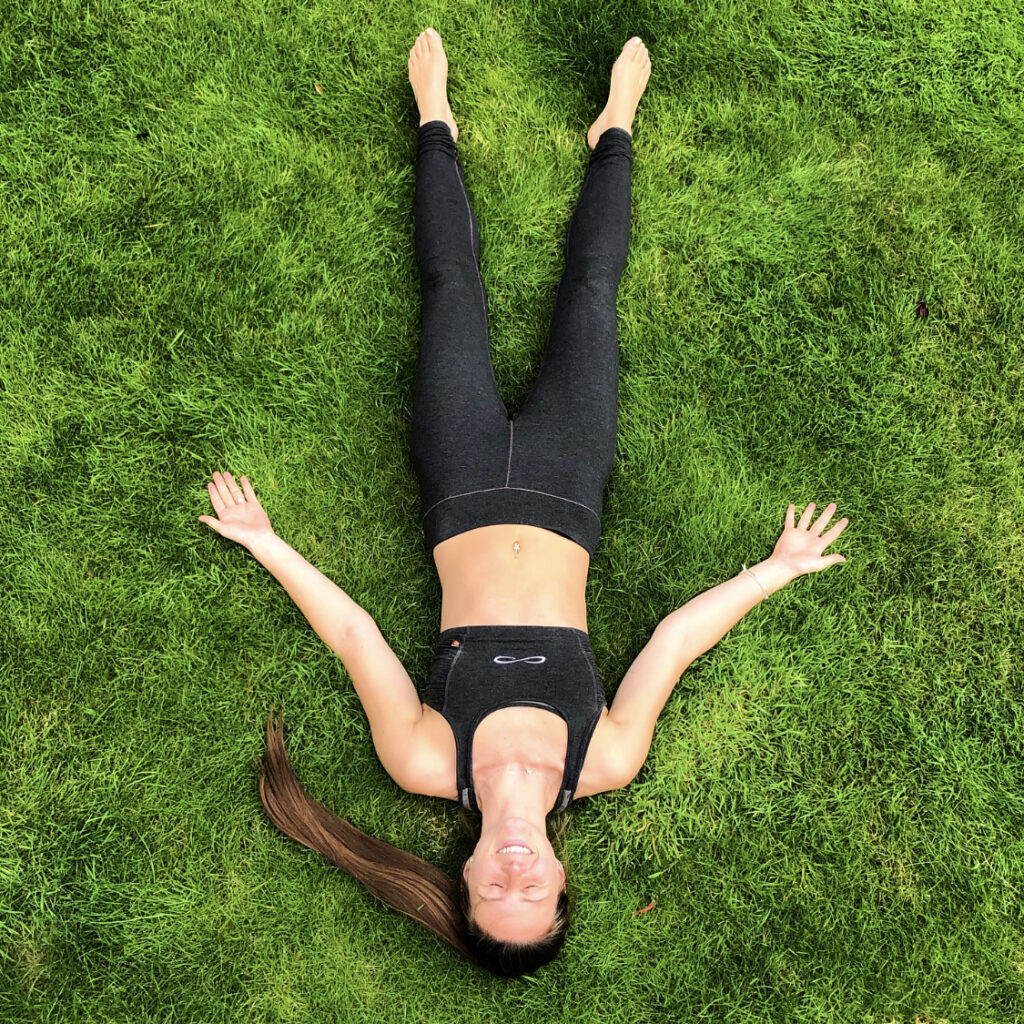
This is not lying down. This is savasana.
Almost every student is familiar with savasana. It is used at the end of most yoga classes to harmonise the energy of the practice and neutralise the various flexing, extending and twisting movements that may have been undertaken. It is intended to rejuvenate the mind and body after a dynamic practice and provides a state of relaxation and meditation.
Whilst not physically demanding, the challenge of savasana lies in the quietening of the mind. The awareness must be shifted from our usual stream of thoughts, to our internal space, whilst also resisting a state of sleep. It allows us to reap the benefits of our physical practice and develop a deep sense of self-awareness.
For these reasons, it is considered the hardest and most important asana of all.
Etymology
Śavāsana (or Shavasana)
Śava meaning corpse
Āsana meaning “posture” or “seat”.
Also known as Mritasana – Dead Man’s Pose
As well as the very obvious physical resemblance of this asana to a corpse, it can also be considered to symbolise the death of a practice. In this ‘dying’ we surrender ourselves to stillness and detachment.
Restorative Savasana
You will likely be familiar with practicing savasana for just a few minutes using solely a mat. In restorative yoga practice however, it is typically practiced for much longer and there are plenty of props we can incorporate to enhance the benefits of the pose.
It should ideally be practiced before bed, at times of physical and mental fatigue, at the end of a dynamic practice or hard day. It is always the last pose in the sequence but can be practiced as a standalone pose in its own right.
Benefits
- Effectively reduces the heart and respiratory rate.
- Reduces blood pressure.
- Calms the mind and relaxes the body, quietening the brain.
- Creates the potential for deep relaxation.
- With deep relaxation comes increased mental awareness, helping to develop pratyahara.
Cautions and Contraindications
- Fully supine poses such as savasana should be avoided after the first trimester of pregnancy.
- This may be difficult for practitioners who are unable to get up and down from the floor easily.
- This pose can be difficult to tolerate with nasal and/or sinus congestion.
- Some students can find this to be a vulnerable pose which may trigger upset and anxiety. Be mindful of underlying anxiety or past trauma.
How to Practice Restorative Savasana
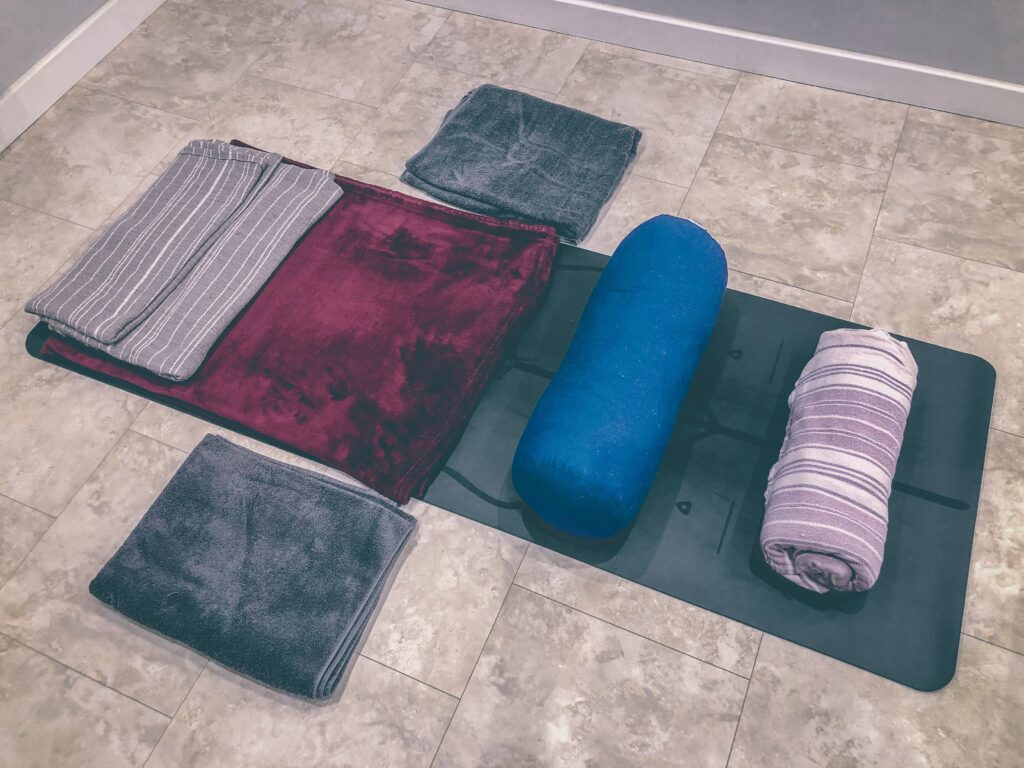
Props
- Mat
- Round bolster
- 5 blankets (or towels)
- Eye mask
Entering the pose
1. Gather your props and set up your mat with plenty of space, ensure you are free to relax without touching surrounding walls or furniture. Try to select a practice area where you are least likely to be disturbed.
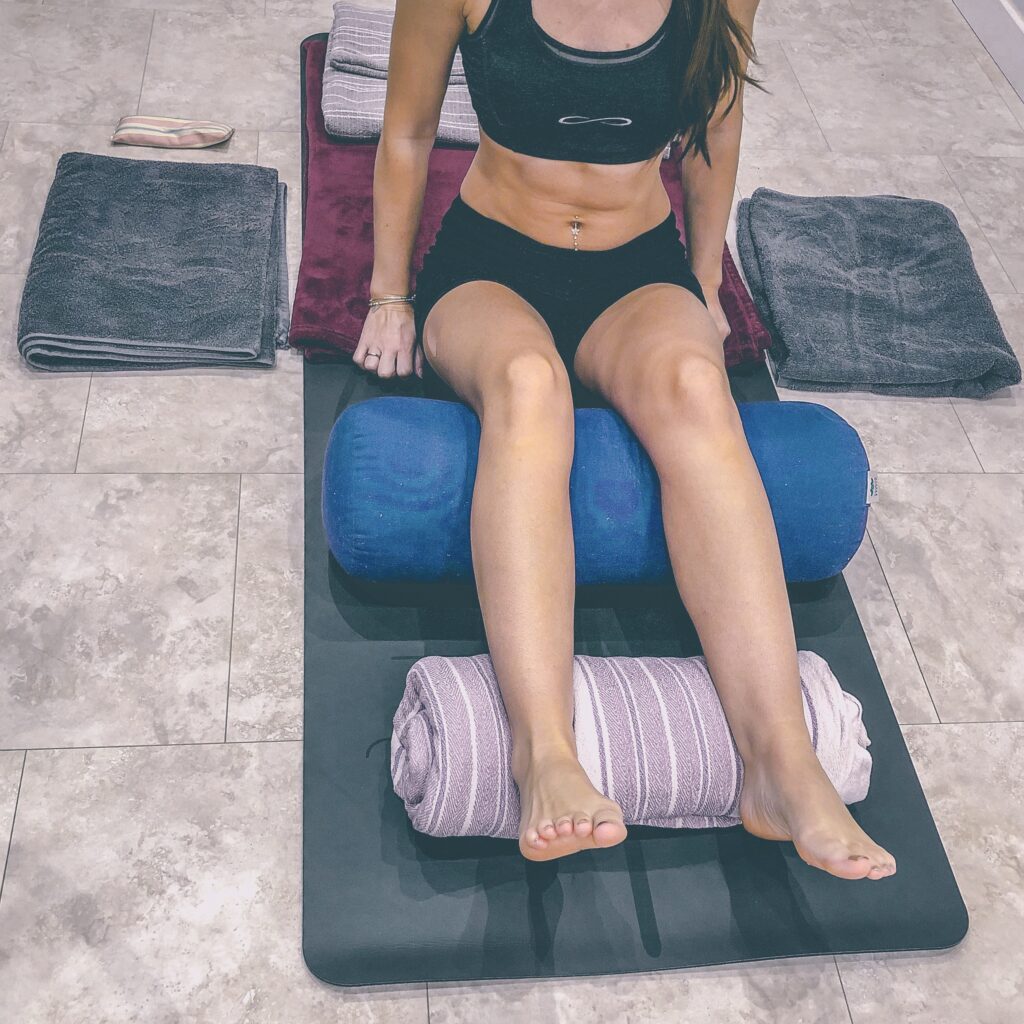
2. Prepare a rolled blanket for your ankle support and place a bolster for your knee support. It is important to ensure a 2:1 ratio in which your knees are twice as high as your ankles.
3. Place your remaining four blankets in the arrangement shown below. Pay close attention to the 3-tiered arrangement of the two blankets placed over your mat. The remaining two blankets will be used to support your forearms, wrists and hands.
4. Sit on your mat and place your legs over your bolster, slightly apart. The sit bones should be supported by the base blanket. The back of your knees should rest on the bolster so that both you lower thighs and upper calves are supported equally to allow maximum relaxation of the abdomen and lower back. Float the heels so that they are off the floor.
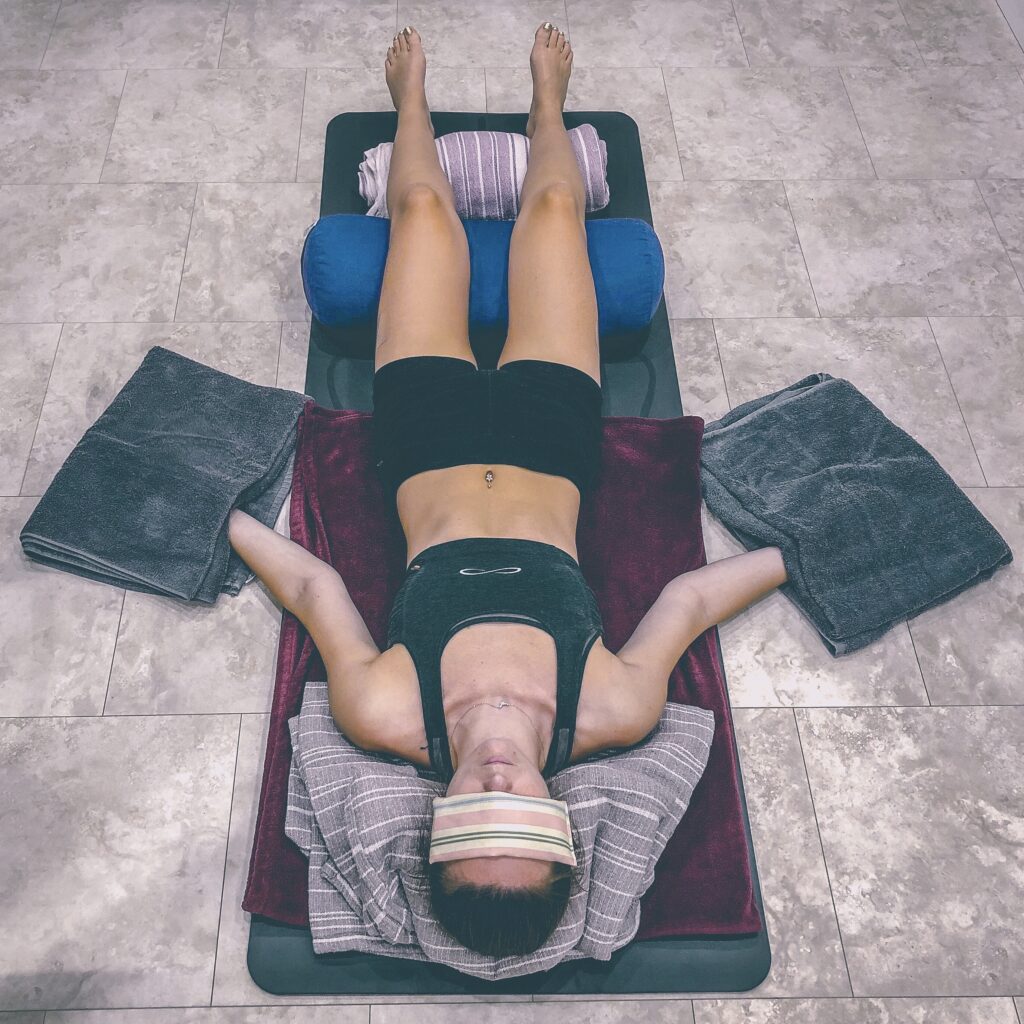
5. Lie back on your mat:
- Your head should be placed on the highest tier of blanket, your shoulders on the second and your torso on the third.
- Your chin should be supported in slight flexion (chin towards breastbone) this will mean your chin is slightly lower than your forehead.
- Ensure the C7 vertebrae (the prominent bone in the back of your neck where your neck meets your thorax) is well supported.
- Roll the blanket edges so your neck is supported, preventing the head from fall falling to one side or the other.
6. Place the arms on the two blankets to side of your mat, with the wrists supported in gentle flexion. Palms should face upwards, fingers relaxed and loosely curled, if you wish you can use a fold to cover the hand like a mitten.
7. Close the eyes, an eye mask may be used to draw skin on the forehead down towards the eyes. Ensure the weight is evenly distributed across the forehead, not on the eyelids or nose.
8. Don’t be afraid to make prop adjustments at any point during set-up. The goal is to feel comfortable and supported.
9. Optional extras include a blanket placed over the entire body to prevent getting cold. Some students also appreciate the energetic boundary it creates. The head and feet are major sources of heat loss so creating a hood with the head-support blanket and/or wearing socks can also be helpful.
10. Enjoy for at least 20 minutes
Coming out
- Feel your awareness returning to the room.
- Take several long slow breaths, starting to move the fingers and toes.
- Bend the knees one by one to the chest and roll to the (right) side, resting for a few more breaths until you feel ready to move.
- Turn on to your front so that your stomach faces the floor and gently use your arms to push onto all fours and return to a seated position
Duration
- In restorative practice savasana is recommended for a duration of at least 20 minutes. In general, the longer the better.
- In many yoga classes it may be practiced for a few as 1-2 minutes. The minimum duration should be to stay until the heart and breathing rate have slowed to a steady, calm pace.
Awareness
- It may be helpful to first focus on the relaxion of the physical body and move to become aware of the natural rhythm of the breath, counting or reciting a personal mantra if you find this helps focus your attention.
- The spiritual awareness should be on Ajna (third-eye) Chakra
Key practice notes
- The head and the heart should be at the same level
- The front of the body should be open with the arms out to the side.
- Try not to move the body during practice and use the props in a way that feels best for you in order to eliminate all discomfort and distraction.
- Support the joints in flexion to aid relaxation.
- The mind will wander. This is natural and expected. Just notice this and gently return the awareness to the breath.
- Drowsiness can be difficult to resist. Centre your focus on the breath and try increasing the rate and depth of breathing, counting breaths may be helpful.